Reolink Cameras Guide: Setup, Speed, WiFi & All You Should Know
When it comes to affordable and feature-packed security cameras, Reolink always pops up in the top five. Whether you’re a homeowner, small business owner, or tech-savvy DIYer Reolink offers a wide range of options that don’t break the bank, but still deliver sharp footage, flexible storage, and wireless freedom.
If you're wondering how to connect them, how much speed they need, or even if they’re worth it in 2025 this guide has you covered. And yep, you can grab Reolink Cameras directly from All Ways Wireless, with fast shipping and warranty-backed units.
Let’s break down everything.
Reolink Camera Features & Specifications
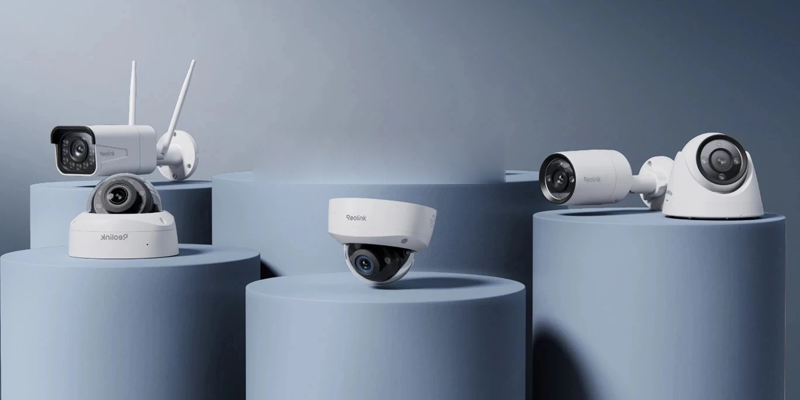
Reolink cameras are packed with features designed for both home and small business security. While specs vary by model, here’s what most Reolink models offer:
- Resolution: 1080p Full HD to 4K Ultra HD
- Connectivity: Wi-Fi, PoE (Power over Ethernet), 4G LTE options
- Power Options: Plug-in, Solar, Battery-powered
- Night Vision: Infrared night vision up to 100ft
- Audio: Two-way audio with built-in mic and speaker
- Storage: Supports microSD card (up to 256GB), NVRs, and cloud storage
- AI Detection: Person/Vehicle detection with motion zones
- App Support: iOS/Android apps, desktop client, works with smart assistants (Google, Alexa)
Are Reolink Cameras Good?
Yes, surprisingly good for the price.
But let’s go a little deeper.
Reolink has built its reputation by offering standalone IP cameras, wireless NVR kits, and even LTE-based models like the Reolink Go Plus, for people who need cameras in remote or rural areas.
Here’s why they’re solid:
-
Image quality: Most Reolink cams offer 5MP to 12MP recording with night vision. Even the budget-friendly ones have color night vision via spotlight LEDs.
-
No subscription pressure: You can store footage locally on SD card or NVR, or go cloud if you want. Unlike Ring or Arlo, there’s no forced monthly fee.
-
Flexible app & software: Works with Reolink app, desktop client, ONVIF NVRs, and even Blue Iris (which we’ll get to).
-
Affordable price range: From $99–$300 range roughly, depending on model.
So, whether you're setting up cameras around your house or managing small commercial properties, Reolink does the job without locking you into a tight ecosystem.
Available now at All Ways Wireless with expert support and authentic units.
Smart AI & Motion Detection Features
Most modern Reolink cameras come equipped with intelligent motion detection. Instead of sending you alerts for every leaf that moves, Reolink’s AI system can distinguish between:
- Human movement
- Vehicle detection
- Pet motion (limited models)
This means fewer false alarms and smarter surveillance. You can even create motion zones and schedules to customise when and where alerts are triggered.
How to Connect Reolink Camera to WiFi
Connecting your Reolink cam to WiFi is usually a breeze, but yeah, it depends on the model.
If it’s a wireless camera (like Reolink E1, Argus 3 Pro, etc.), here’s the basic flow:
-
Power it up either via USB cable or battery, depending on the model.
-
Open the Reolink App (iOS or Android).
-
Tap “+” to add a device.
-
Scan the QR code under the camera.
-
Select WiFi setup, then enter your WiFi name + password.
-
The app will generate a QR code, show it to the camera lens.
-
Wait for voice confirmation: “WiFi connection succeeded.”
Tips:
-
Reolink cams only work with 2.4GHz WiFi (unless it’s a dual-band model like E1 Outdoor).
-
Keep the camera and router within 10–15 feet during setup.
-
Don’t use special characters in WiFi SSID or password (Reolink sometimes struggles with those).
Once it connects, you’re good to go—live streaming, push alerts, motion zones, everything from the app.
What Connection Speed Does Reolink Cameras Use?
If you're adding multiple cams on one network.
Here’s what Reolink typically uses for bandwidth:
|
Resolution |
Bitrate |
Upload Speed Needed (Per Cam) |
|
1080p |
1024–2048 kbps |
~1–2 Mbps |
|
4MP/5MP |
2048–4096 kbps |
~2–4 Mbps |
|
4K / 8MP |
4096–8192 kbps |
~4–8 Mbps |
Example: If you have 3 cameras at 5MP, and you're viewing them remotely in HD, you'd ideally want at least 10 Mbps upload speed from your router/network.
Also, if you're storing footage to Reolink Cloud or a remote NVR, that upload speed matters even more.
How to Reset a Reolink Camera
Sometimes your Reolink camera might act up, maybe it’s not connecting to WiFi, lagging during live view, or you’re just doing a fresh setup. In all those cases, doing a factory reset is the cleanest way to start over.
Reolink’s reset method depends on the model, but here’s the standard process:
For WiFi or PoE Models (like RLC-410, RLC-520, E1 Series):
-
Locate the Reset Button
It’s usually found near the SD card slot or under a small rubber flap.
-
Press and Hold
Use a pin or paperclip to hold the reset button down for 10–15 seconds, until you hear a voice prompt or see the LED flash.
-
Release and Wait
The camera will reboot and return to factory default settings.
For Battery-Powered Models (Argus 2/3, Go Series):
-
These usually don’t have a physical reset button.
-
Instead, go to the Reolink app → Device Settings → Advanced → Restore to Default
(You may need to reconnect manually after reset.)
What Gets Erased?
-
WiFi info, password, device name all wiped
-
SD card recordings are not deleted unless you manually format
-
You’ll need to re-pair the camera in the Reolink app again
Resetting is safe and easy, but just make sure to back up important footage or note your settings before wiping everything.
How to Add Reolink Camera to Blue Iris
A lot of users, especially DIY enthusiasts, use Blue Iris for professional-level video management. Good news? Reolink cams work with Blue Iris, but there are a few things to keep in mind.
What You Need:
-
Reolink camera that supports RTSP (most PoE and WiFi models do like RLC series)
-
Local IP address of your Reolink cam (e.g. 192.168.1.52)
-
Your camera’s login credentials (username/password)
Steps to Connect:
-
Open Blue Iris → Right-click → Add New Camera
-
Name your cam, choose a short ID (like RL1)
-
Go to Video tab → Configure
-
Under Network IP Camera Configuration
-
Address: Your cam’s local IP
-
Protocol: RTSP
-
Path: usually /h264Preview_01_main for main stream
-
Address: Your cam’s local IP
-
Username/Password: Enter your Reolink credentials
-
Test connection → Save
Quick Notes:
-
Reolink’s smart detection (person/vehicle) won't pass to Blue Iris that stays in Reolink's own app.
-
Motion alerts & recording will be handled by Blue Iris, not the Reolink app.
-
Use fixed IP or DHCP reservation to keep things stable on your network.
If you’re a power user and like customizing recording zones, schedules, overlays, etc., Blue Iris + Reolink is a great combo.
Final Thoughts: Should You Go with Reolink?
if you want a reliable, affordable, and DIY-friendly security cam setup, Reolink is one of the smartest options in 2025. They’re not over-engineered, yet not underpowered either. For homes, small offices, remote locations, or even temporary setups like events they just work.
Get genuine Reolink cameras now at All Ways Wireless with product support and fast shipping.